
Beginner’s Guide to Jewelry-Making Tools & Beading Techniques
So, you’ve fallen in love with beads—and now you're ready to create your own stunning jewelry. Whether you dream of making boho bracelets, gemstone necklaces, or personalized gifts, having the right tools and techniques will make your beading journey smooth, enjoyable, and creatively fulfilling.
This beginner’s guide is your one-stop resource for understanding the essential jewelry-making tools and easy beading techniques, along with where to buy gemstone beads online in both bulk and retail quantities.
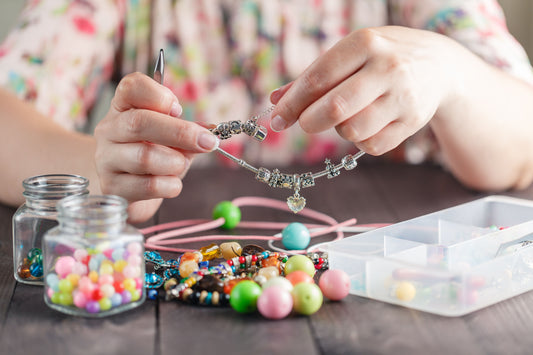
🛠️ Essential Jewelry-Making Tools for Beginners
You don’t need a massive toolbox to start—just a few key items that will help you cut, string, and finish your jewelry pieces cleanly and securely.
-
Round Nose Pliers
Ideal for creating loops and curves, especially for earrings or wire-wrapped designs.
✅ Perfect for: Making simple loops, connecting jump rings, or adding charms using authentic gemstone beads or bone bead strands. -
Chain Nose Pliers
With flat inner jaws, they help grip, bend, and open/close small findings like jump rings.
✅ Pro tip: Use two pairs (one in each hand) for precision when working with wholesale beads for jewelry making. -
Wire Cutters
Essential for trimming beading wire, headpins, or eye pins.
🚫 Avoid using household scissors—they’ll dull quickly and damage your wire. -
Crimping Tool
Used to secure the ends of beading wire with crimp beads or tubes.
✅ Alternative: Flat-nose pliers work, but a proper crimping tool gives your designs a professional look. -
Bead Mat or Tray
Prevents beads from rolling and helps you pre-arrange your pattern using Miyuki seed beads or semi-precious gemstone beads.
🎯 Bonus: Great for keeping your bulk beads for small business organized while crafting.
📿 Must-Have Materials for Beading
Ready to get started? Here’s a quick breakdown of beginner-friendly materials:
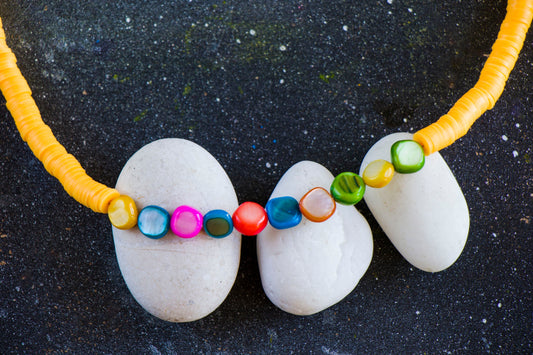
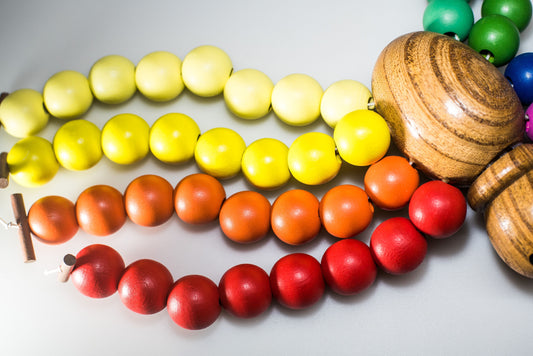
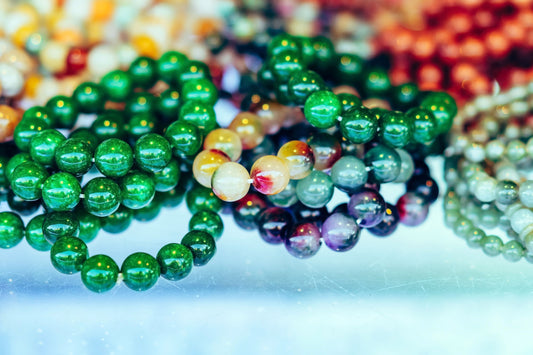
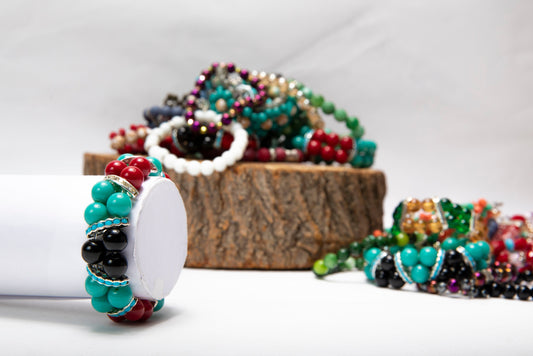
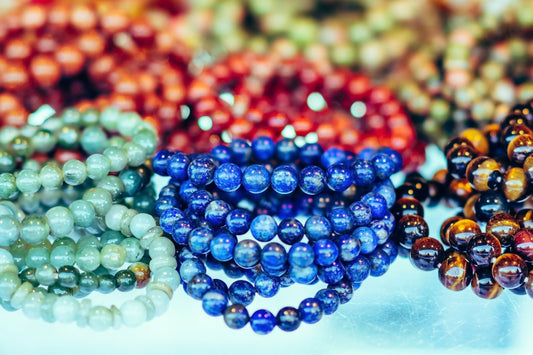
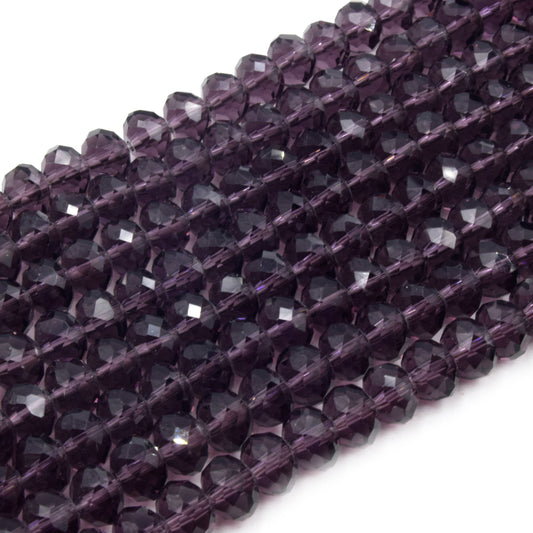
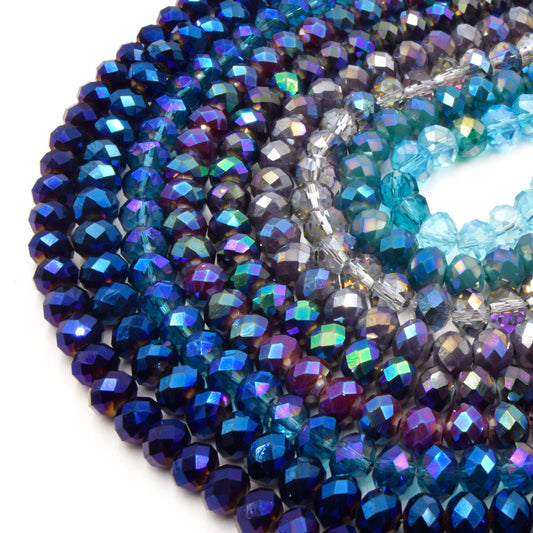
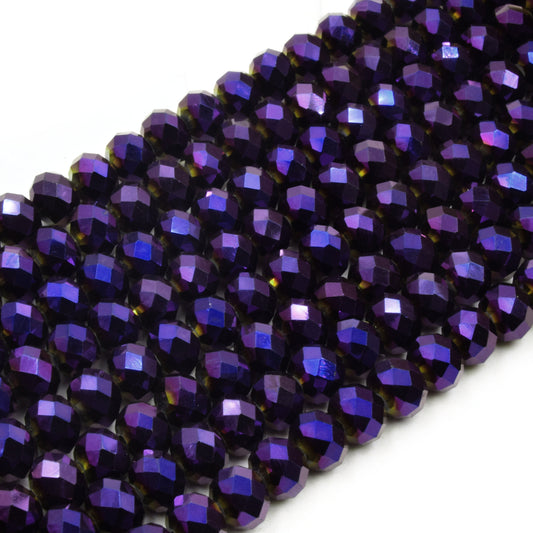
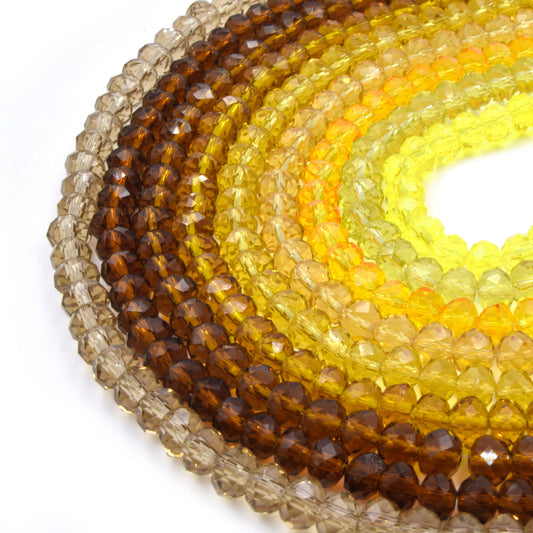
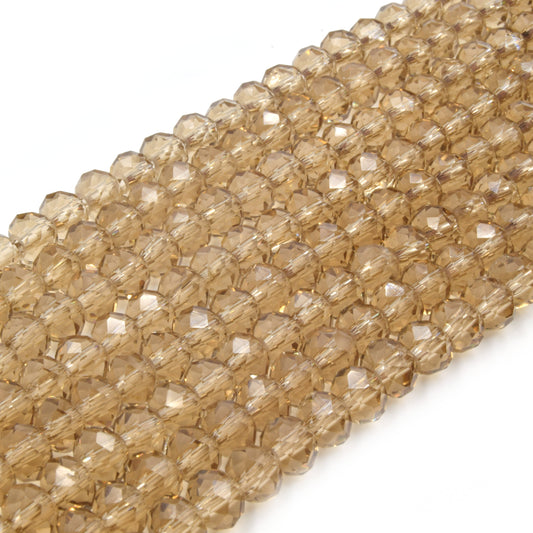
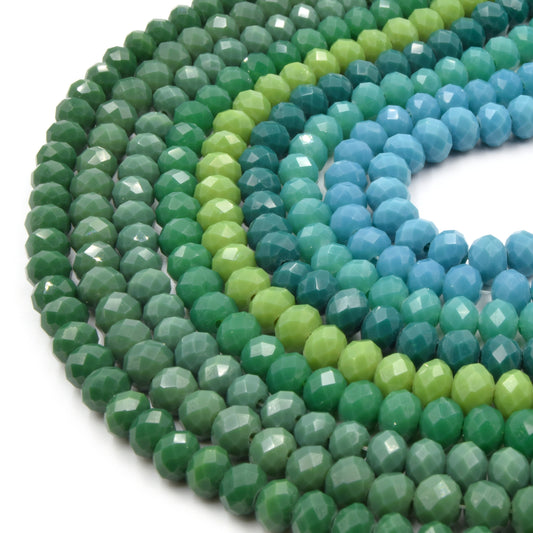
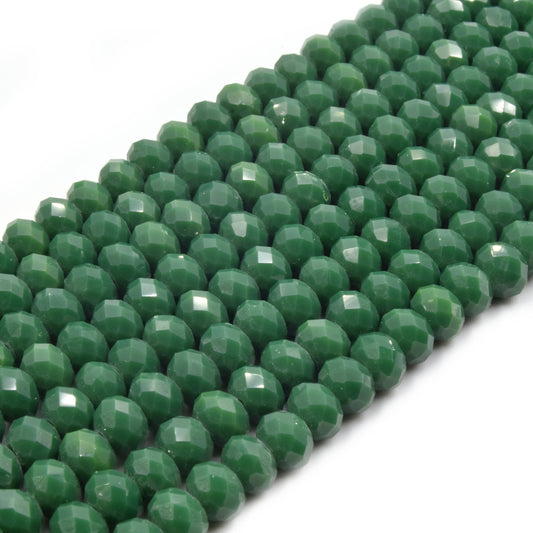
- Gemstone beads – Available in a wide variety like amethyst, rose quartz, lapis lazuli
- Miyuki seed beads 11/0 – Precision Japanese seed beads perfect for weaving and detail work
- Beading wire – Strong and flexible, perfect for clasped pieces
- Elastic cord – Best for bracelets without clasps
- Jump rings & clasps – To connect and finish your designs
- Crimp beads – To secure ends of your wire
- Spacer beads & charms – Add personality and flow
🛒 Find these and more at OnlyBeads.com—your beads supplier for handmade jewellery, offering everything from natural gemstone beads bulk to handmade bone jewellery supplies.
✨ Easy Beading Techniques for Beginners
Let’s explore beginner-friendly techniques that help you confidently bring your designs to life:
1. Stringing on Elastic Cord (Stretch Bracelets)
Best for: Gemstone bracelets, chakra stacks, kids’ designs.
- Cut elastic 2–3 inches longer than wrist size
- Add a bead stopper or secure one end with tape
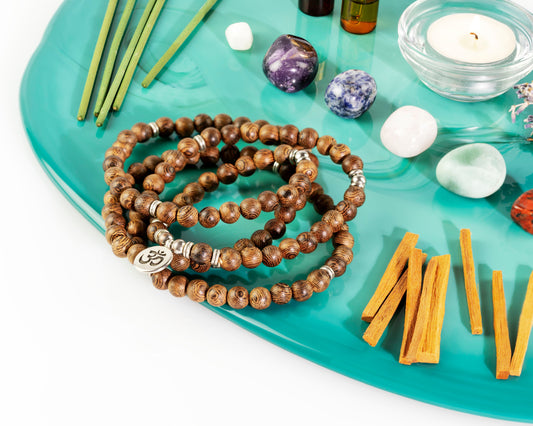
- String your semi-precious gemstone beads or authentic African bone beads
- Tie a double or surgeon’s knot tightly
- Apply a dab of glue to secure, trim, and tuck the knot
💡 Pro Tip: Pre-stretch the elastic to prevent sagging later.
2. Using Crimp Beads for Clasps
Best for: Durable, professional-quality necklaces or bracelets.
- Cut your beading wire
- Slide on a crimp bead and clasp, then loop wire back through
- Flatten the crimp bead with a tool
- Add beads, repeat on the other end
- Cover crimps with crimp covers for a neat finish
🎯 Use wholesale gemstone beads for cohesive and marketable jewelry collections.
3. Making Simple Loops (For Earrings & Charms)
Best for: Dangling earrings, charm bracelets, pendants.
- Slide a bead onto a headpin
- Use round nose pliers to form a loop
- Trim the excess wire
- Connect to an earring hook or chain
💡 Practice with inexpensive wire before using high-quality gemstone beads.
💡 Bonus Tips for Jewelry-Making Beginners
- Start simple – Focus on one technique before branching out
- Organize smartly – Store bulk beads in labeled containers
- Plan your layout – Use a bead mat to visualize the design
- Be patient – Progress comes with practice!

Final Thoughts
Jewelry-making is a blend of art, mindfulness, and entrepreneurship. With just a few essential tools and some high-quality supplies, you can start crafting professional-looking pieces—whether it's for fun, gifting, or launching your own business.
At OnlyBeads.com, we proudly serve beginners, hobbyists, and small business owners with everything from wholesale gemstone beads USA to authentic Miyuki bead supplies. Whether you’re looking to buy natural bone beads, Japanese glass beads, or precision Miyuki beads USA, we’ve got you covered.
✨ Bead your vision. Craft with love. Grow your creativity. ✨
Tags:
Previous
Crystal Grid Jewelry: Combining Beads for Manifestation Power
Next
Top 5 Bead Types for Summer 2025 Jewelry Trends
Related articles

-
Aug 17 2025