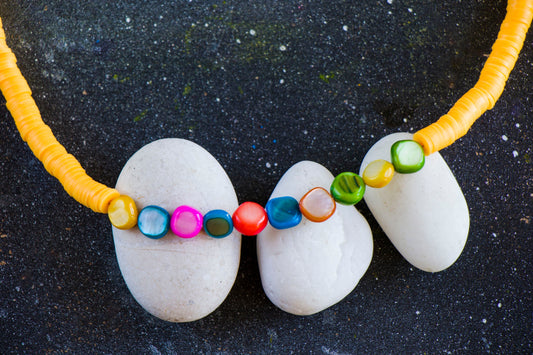

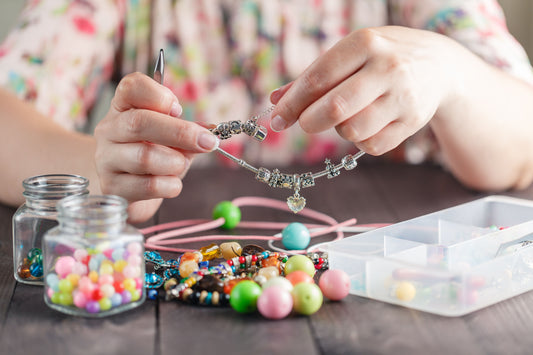
There’s something magical about crafting your own jewelry—especially when it’s infused with the energy of crystals. DIY crystal bracelets are a fun, creative, and meaningful way to express your style while tapping into the healing properties of gemstones.
Whether you’re a total beginner or just looking for simple inspiration, this guide will walk you through a few easy beading projects you can try today using authentic gemstone beads, Miyuki seed beads, or even handmade bone beads.
Why Make Your Own Crystal Bracelets?
-
🌟 Personalize your jewelry with stones that resonate with you.
-
💸 Save money by crafting instead of buying.
-
🧘 Infuse each piece with your own energy and intention.
- 🎁 Create thoughtful, handmade gifts for friends and family.
All you need are a few basic tools, some high-quality beads from OnlyBeads.com, and a little bit of creativity!
Tools & Materials You’ll Need
-
Elastic cord or beading wire
-
Scissors or wire cutters
-
Bead mat or tray
-
Crimp beads & crimping tool (for wire projects)
-
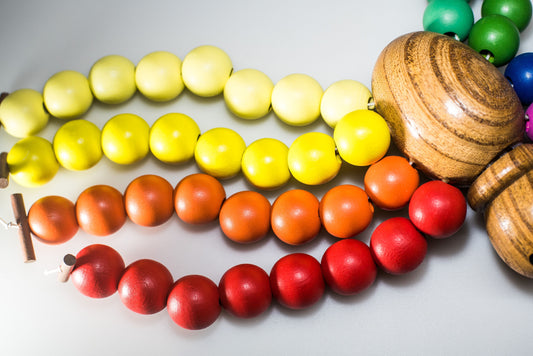
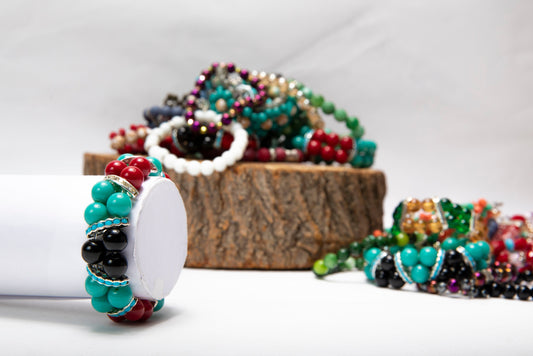
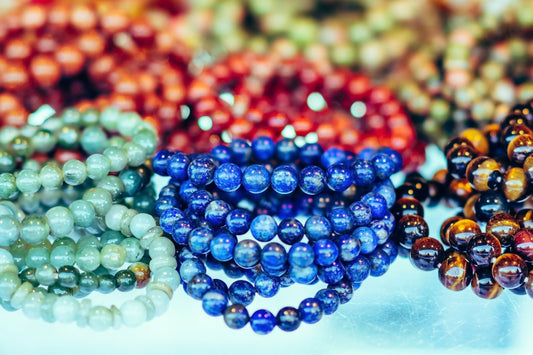
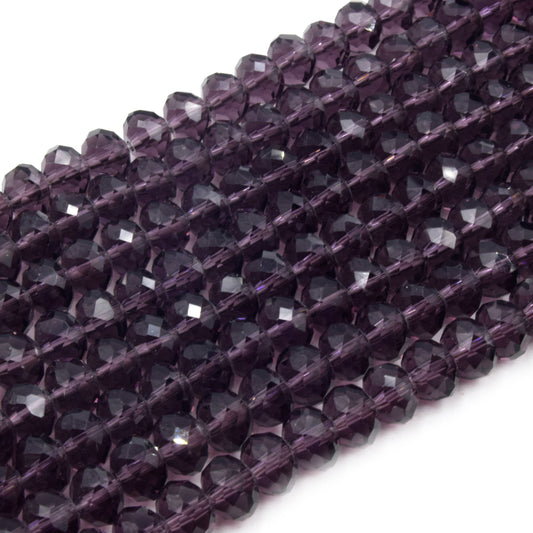
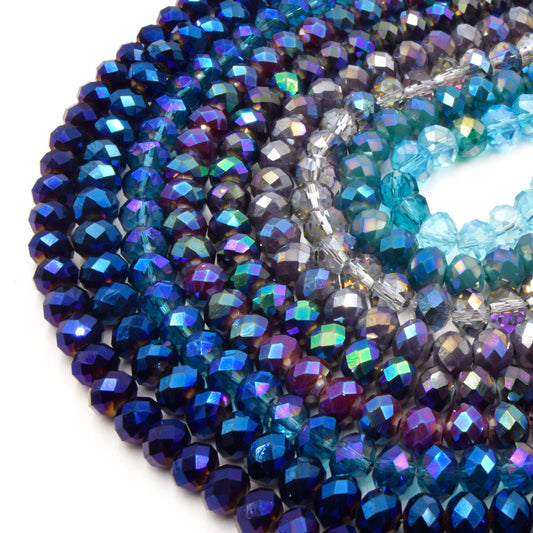
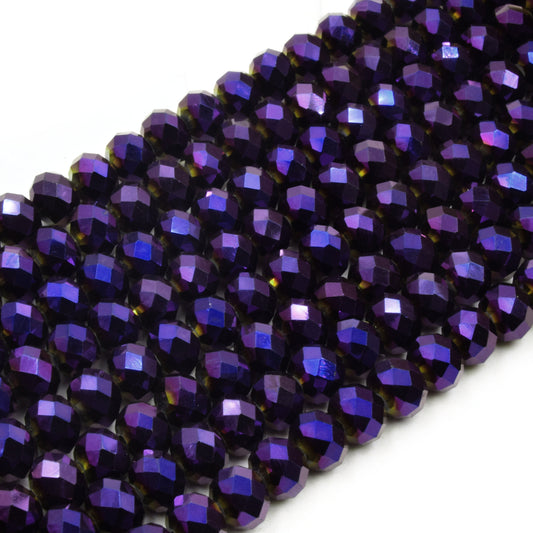
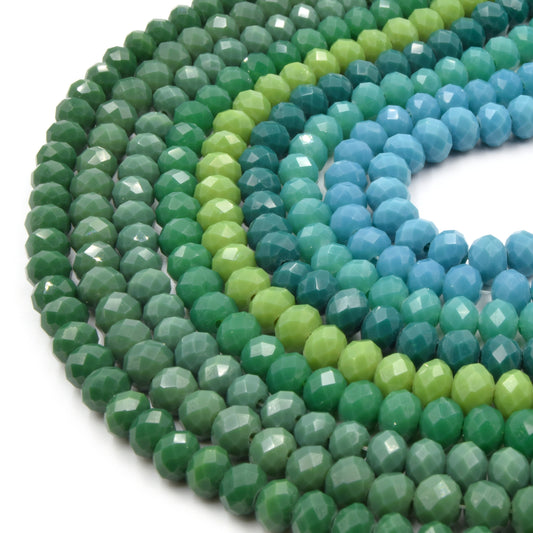
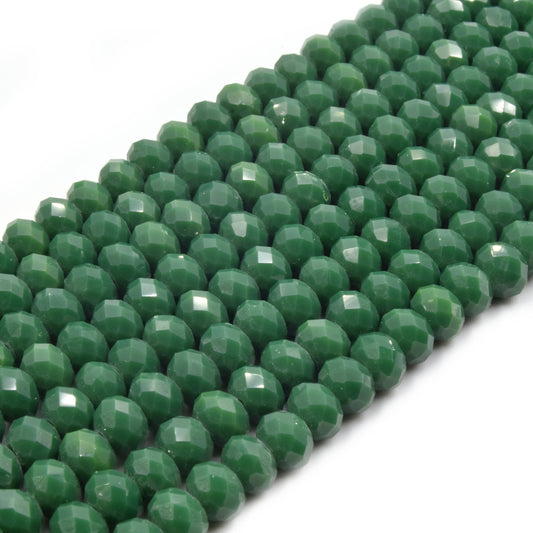
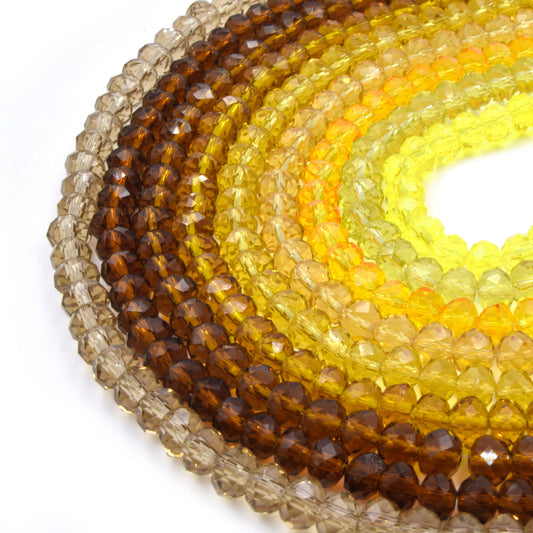
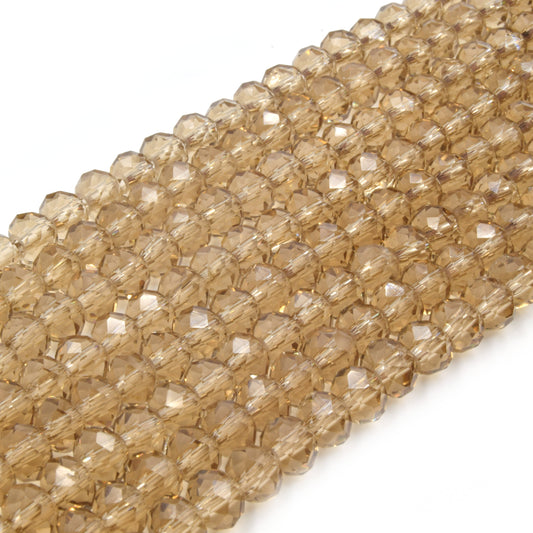
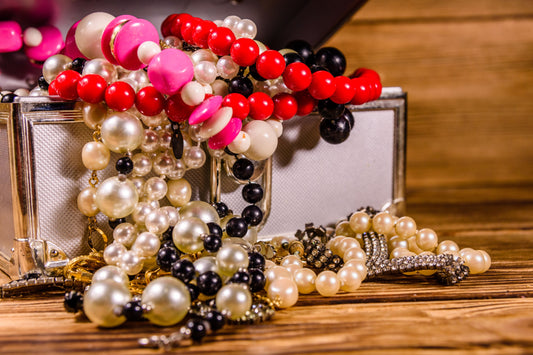
Gemstone beads — like amethyst, tiger’s eye, rose quartz
-
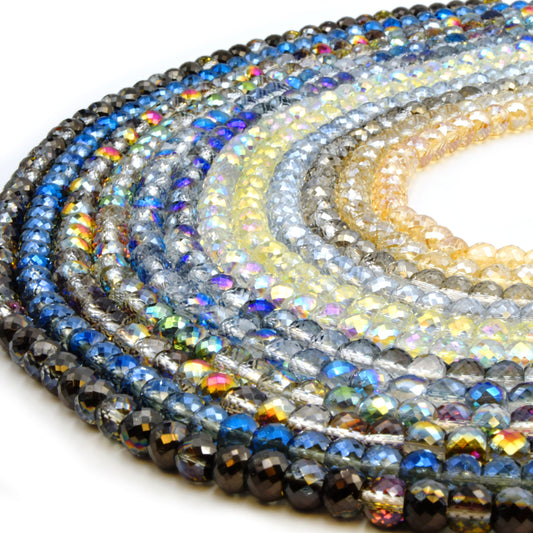
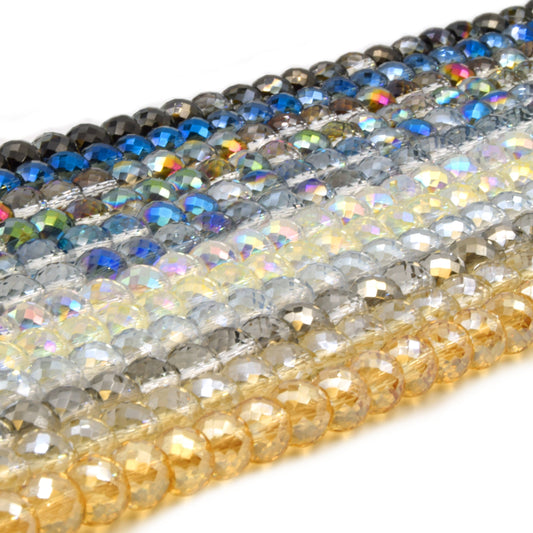
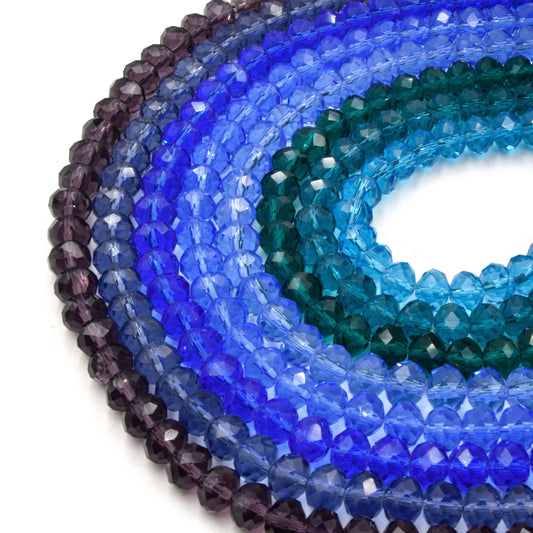
Optional: spacer beads, charms, Miyuki seed beads
Project 1: Stretchy Gemstone Bracelet
Best for: Beginners, quick and easy, no tools required other than scissors.
-
Cut a piece of elastic cord about 2–3 inches longer than your wrist size.
-
Pre-stretch the cord to prevent sagging later.
-
String your chosen beads—try alternating gemstone beads with spacers for a stylish look.
-
Once finished, tie a double knot or surgeon’s knot tightly and add a drop of jewelry glue for extra security.
-
Trim the excess cord and tuck the knot between beads.
Stone Suggestions: Rose quartz for love, black tourmaline for protection, citrine for abundance.
Project 2: Beaded Wire Bracelet with Clasp
Best for: A more polished, professional look that’s durable and long-lasting.
-
Cut a piece of beading wire about 6–8 inches longer than your wrist size.
-
Slide a crimp bead and one half of your clasp onto one end of the wire, loop the wire back through the crimp bead, and flatten it with your crimping tool.
-
String your beads in your desired pattern—combine gemstone beads with Miyuki seed beads for texture and detail.
-
Finish the other end with a crimp bead and the second half of your clasp.
-
Cover the crimp beads with crimp covers for a neat finish.
Stone Suggestions: Lapis lazuli for wisdom, carnelian for motivation, moonstone for intuition.
Project 3: Charm Bracelet with Gemstones
Best for: Creative and playful designs with added meaning.
-
Follow the steps for a stretchy or wire bracelet.
-
Add charms between beads using jump rings for a personalized touch.
-
Try combining natural gemstone beads with symbolic charms like hearts, stars, or feathers.
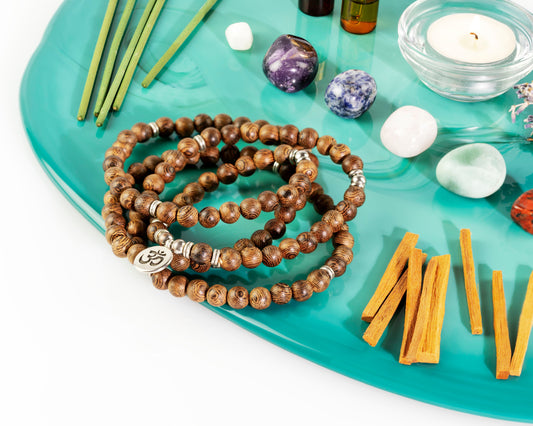
Pro Tip: Use authentic African bone beads or horn beads for a rustic, earthy vibe.
Tips for Success
-
Start simple — don’t overload your design with too many different beads.
-
Plan your pattern on a bead mat before stringing.
-
Work in good lighting to spot flaws or missed beads
- Cleanse your finished bracelet (with sage, moonlight, or sound) to activate its energy.
Final Thoughts
Making your own DIY crystal bracelets is not just a craft—it’s a creative ritual that connects you to your intentions and personal energy. With a few basic tools and some beautiful beads, you can create jewelry that’s uniquely yours and deeply meaningful.
At OnlyBeads.com, we offer everything you need for your beading journey: wholesale gemstone beads, bulk Miyuki seed beads, handmade bone beads, and more. Whether you’re creating for yourself, gifting, or starting your own small business, we’re here to support your creativity.
✨ Bead with joy. Wear with pride. Share your magic. ✨
Tags:
Previous
Healing with Beads: How Crystal Jewelry Can Balance Your Energy
Next
The Spiritual Meaning of Popular Beads: Which One Speaks to You?
Related articles
-
Aug 17 2025